|

Tutorial By
AnaMariaC
English Translation by SIM-PSP
moderation
Original Tutorial
MATERIAL
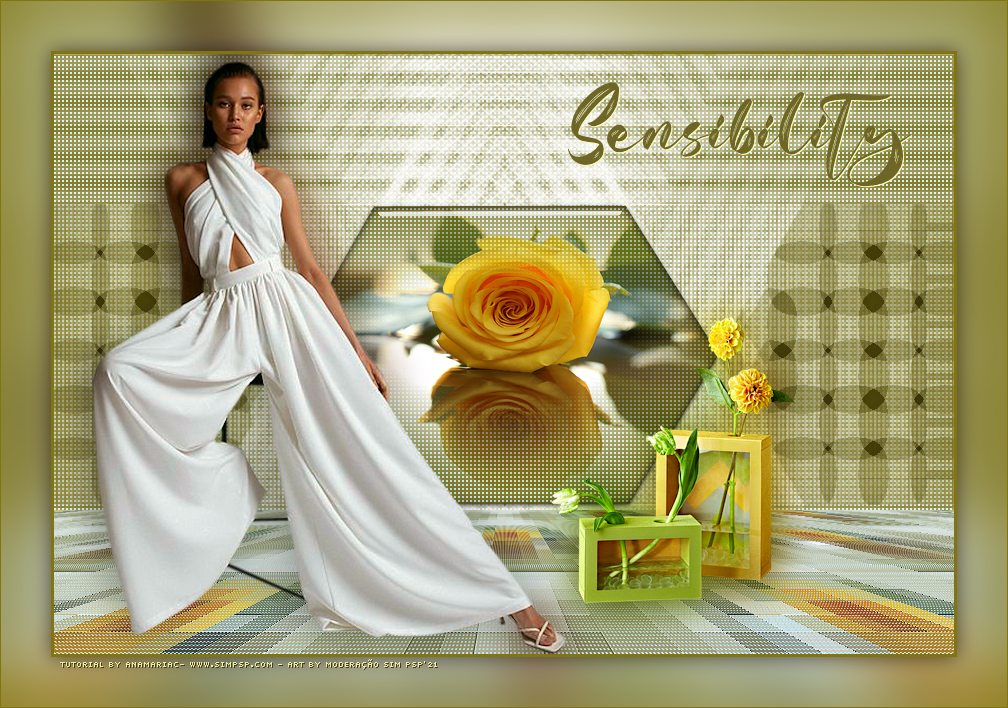
1 main tube of your choice
1 decorative tube of your choice
1 Misted landscape of your choice
MASKSUIZA 009.
PLUGINS
Simple > 4 Way Average.
Alien Skin Eye Candy; 5 Impact > Glass.
It@lian Editors Effects > Effetto Fantasma.
MuR’as Meister> Perspective tiling.
It@lian Editors Effects > Mosaico TV.
TUTORIAL
1-
Open the material on the
PSP, duplicate and close the original.
Choose four
colors to work with.
Foreground:
#FFFFFF
Background: #817511
Cores extras:
#3837ff
#caf1ff

2- Open a transparency of 900x600.
Paint with the background color #817511
3- Layers > New Raster Layer.
Fill with the color #fffffff.
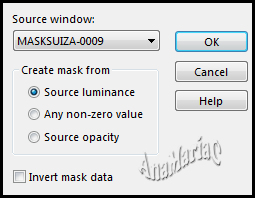
4- Layers > New Mask Layer > From Image: MASKSUIZA-0009
Layers > Merge > Merge Group.
5- Layers > Duplicate.
Image > Mirror Horizontal.
Layers > Merge > Merge Down.
6- Effects > Plugins > Simple > 4 Way Average.
7- Layers > Duplicate.
Layers > Merge > Merge Dow.
8- With the Freehand Selection Tool:

select as in the example:
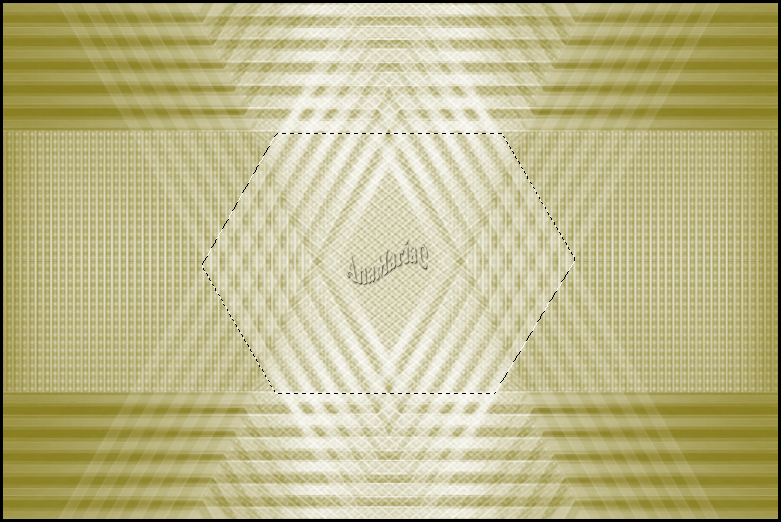
Press the keyboard's Delete key.
9- Edit > Copy the Misted Landscape.
Edit > Past Into Selection.
Adjust > Sharpness > Sharpen.
10- Effects > Plugin > Alien Skin Eye Candy; 5 Impact > Glass.
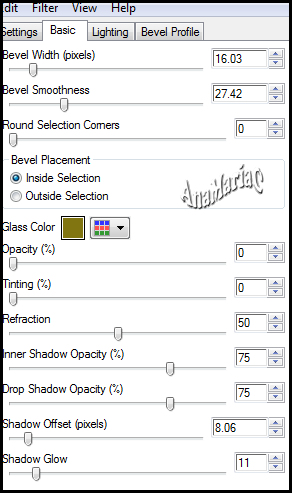
Selections > None.
11- Layers > New Raster Layer.
12- With the Freechand Selection Tool:
select as in the example:
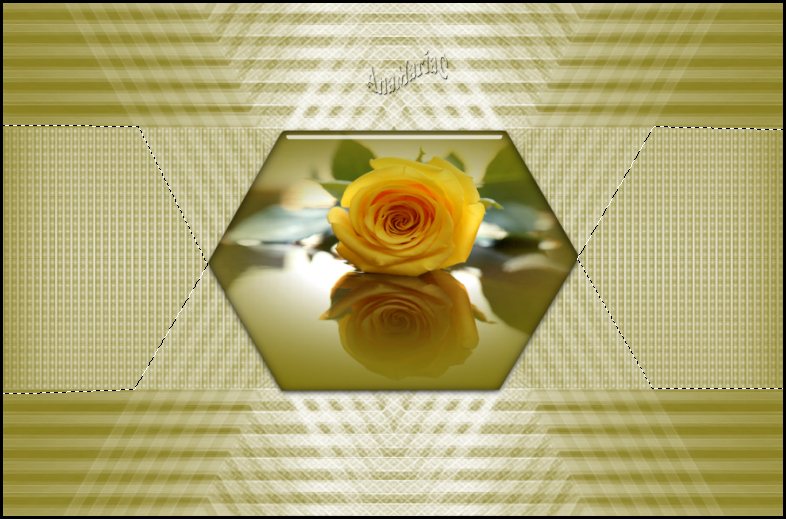
13- Fill selection with color: #817511 (Background).
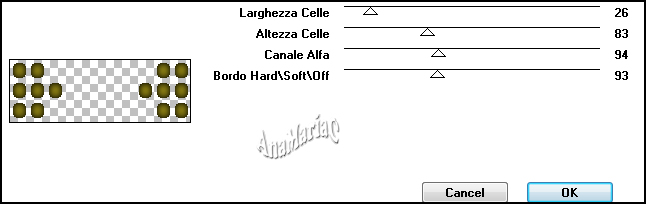
14- Effects > Plugin > It@lian Editors Effects > Mosaico Tv:
15- Effects > Plugin > It@lian Editors Effects > Effetto
Fantasma.
16- Adjust > Sharpness > Sharpen.
Selections > None.
17- Activate Layer Raster 1.
Layers > Duplicate.
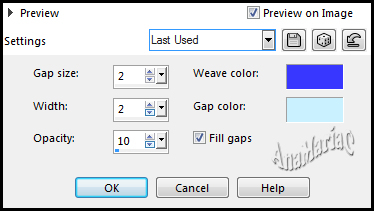
18- Effects > Texture Effects > Wave:
Weave color: #3737ff - Gap color: #caf1ff
19- Layers > Merge > Merge Visible.
Layers > Duplicate.
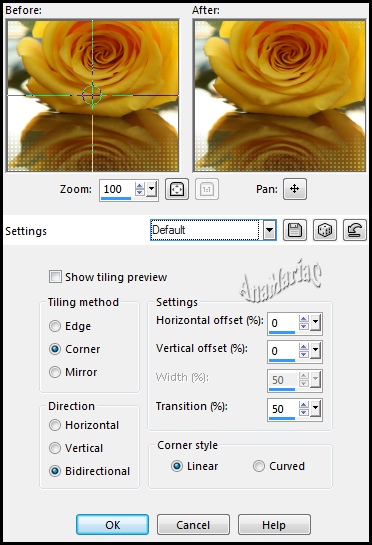
20- Effects > Image Effects > Seamless Tiling > Default.
22- Effects > Edge Effects > Enhance More.
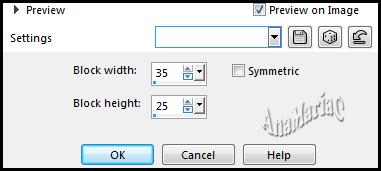
23- Effects > Distortion Effect > Pixelate.
24- Effects > Edge Effects > Enhance More.
25- Effects > Effect > Textura > Wave.
Weave color: #3737ff - Gap color: #caf1ff

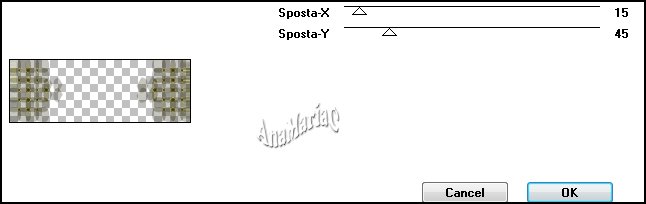
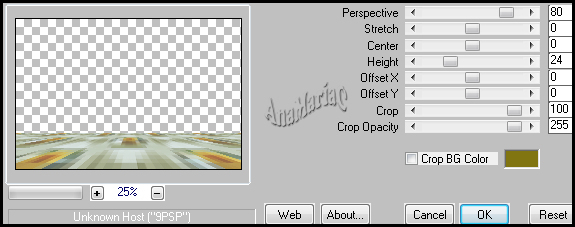
26- Effects > Plugins > MuR’as Meister > perspective tiling:
27- Layers > Merge > Merge Visible.
28- Edit > Copy Main Tube.
Edit > Paste As New Layer.
Image > Resize if
necessary.
Adjust > Sharpness > Sharpen.
Position of your choice.
Effects > 3D Effects > Drop Shadow: your choice.
In the author's version
Drop Shadow (-5, -5, 60, 20, color: #000000) was used.
29- Edit > Copy
the Decorative Tube.
Edit > Paste As New Layer.
Image > Resize if
necessary.
Adjust > Sharpness > Sharpen.
Position of your choice.
Effects > 3D Effects > Drop Shadow: your choice.
30- Image > Add
Border > Symmetric: 3 px - color: #817511(background)
Edit> Copy.
Selections > Select All.
31- Image > Add Border > Symmetric: 50 px - any color.
Selections > Invert.
Edit > Past Into Selection.
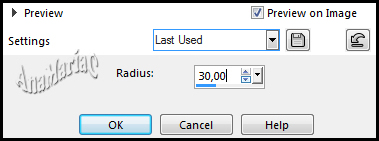
32- Adjust > Blur > Gaussian Blur:
33- Selections > Invert.
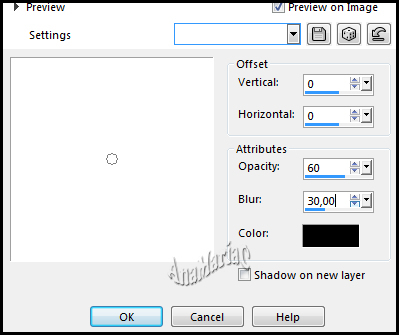
Effects > 3 D Effect > Drop Shadow:
34- Edit > Copy no
titulo_Sensibility.
Edit > Paste As New Layer.
Colorize according to the colors you are using.
Position of your choice.
Effects > 3D Effects > Drop Shadow: 1 / 1 / 100 / 0, color: #ecebaf
or other color of your choice.
35- Image > Add Border > Symmetric: 1 px - color:
#817511(background)
36- If you wish,
resize your work.
Apply your watermark or signature.
File > Export > JPEG Optimizer.
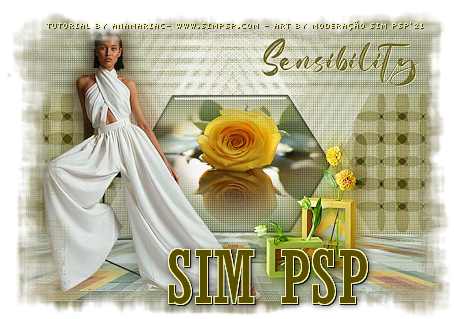
Main Tube: Tubed by
LB Tubes & Mists
Decorative Tube: Tubed by
Maryse
Misted Paisagem: Unknown author
Feel free to send your versions.
I will be happy to publish them on our website.
Send your version to the email address:
sempre.dorinha.2015@gmail.com

SimPSP Social Networks:


|
Tutorial created by AnaMariaC, in August/2021.
Translated into English in
September/21, by the
Moderation of SIM-PSP.
It cannot be copied,
removed from its place, translated or used in learning
lists or groups without the author's prior consent. |
|