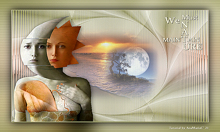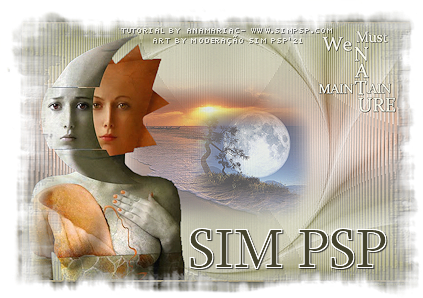
Tutorial By AnaMariaC English Translation by SIM-PSP moderation Original Tutorial
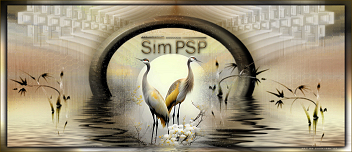
WorArt_by_AnaMariaC 1 Main Tube of your choice 1 Misted Landscape of your choice 1 Masck_040ad179
PLUGINS TUTORIAL
1- Open the material on the PSP, duplicate and close the original. Choose four colors to work with. Color 1: #f1c7ab Color 2: #919547 Color 4: #8f6c50
Extra colors: #FFFFFF Follow the color sequence:
1- 2 - 3 - 4
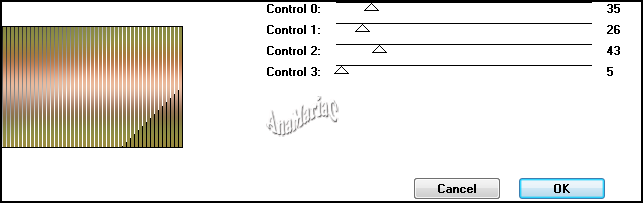
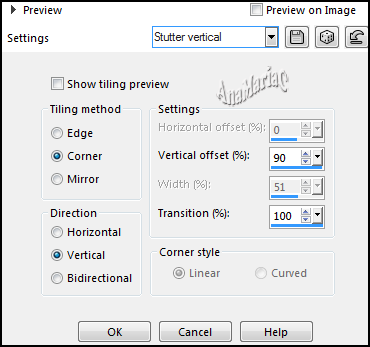
5- Effects > Plugins >
Tramages > Tow The Line:
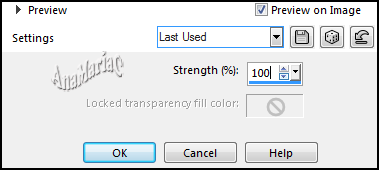
12- Layers > New Raster
Layer. 15- Adjust > Sharpness >
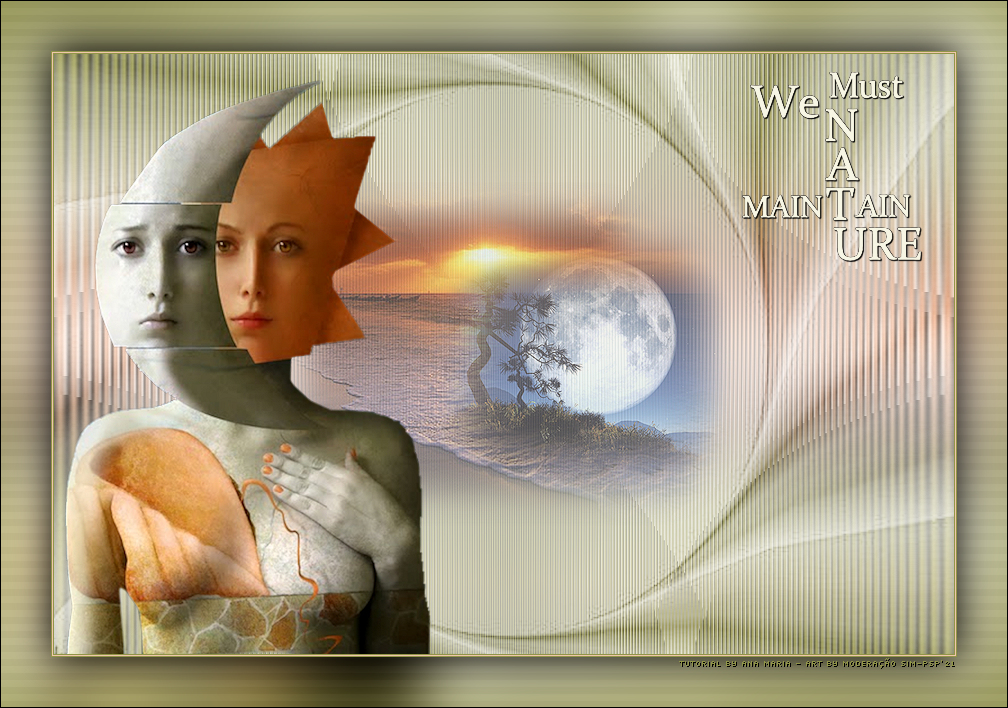
Sharpen More. 16- Edit > Copy the Misted Landscape. Edit > Paste As New Layer.
Position to the center. 17- Edit > Copy
the main tube.
Position to your choice.
18- Edit > Copy no
WordArt. 19-
Layers > Merge >
Merge Visible. 20- Image > Add Borders >
Symmetric: 21- Edit > Copy. 23- Image > Add Borders > Symmetric: 50 px > any color. Selections > Invert. 24- Edit > Past As Into
Selection. 25-
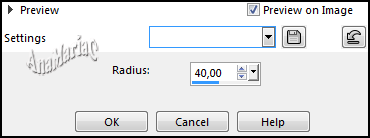
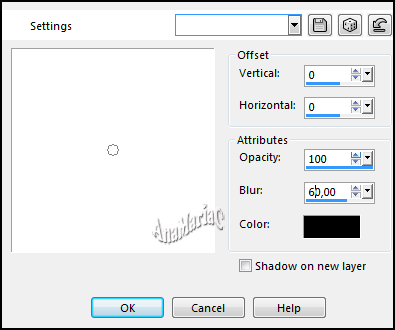
Adjust > Gaussian
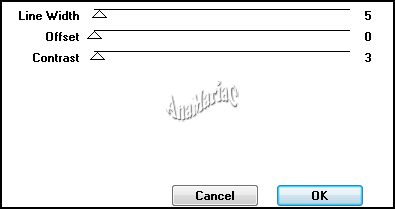
Blur: 26- Effects > Plugins > VM
Extravaganza > Transmission: 27- Selections > Invert. 29-
Selections > Select
None. 30- Image > Add Borders >
Symmetric: 1 px > color: #000000 31-
If you wish, resize your work. File > Export > JPEG Optimizer.
Credits: Tutorial by AnaMariaC English Translation by Moderation SIM-PSP
Main Tube: Tubed by AnaRidzi Misted Landscape: Unknown author
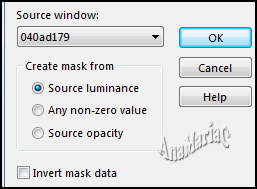
Mask: Unknown author WordArt by AnaMariaC
Feel free to send your versions. I will be happy to publish them on our website.
|