|
TRADUÇÕES: Obrigada aos nossos Tradutores!
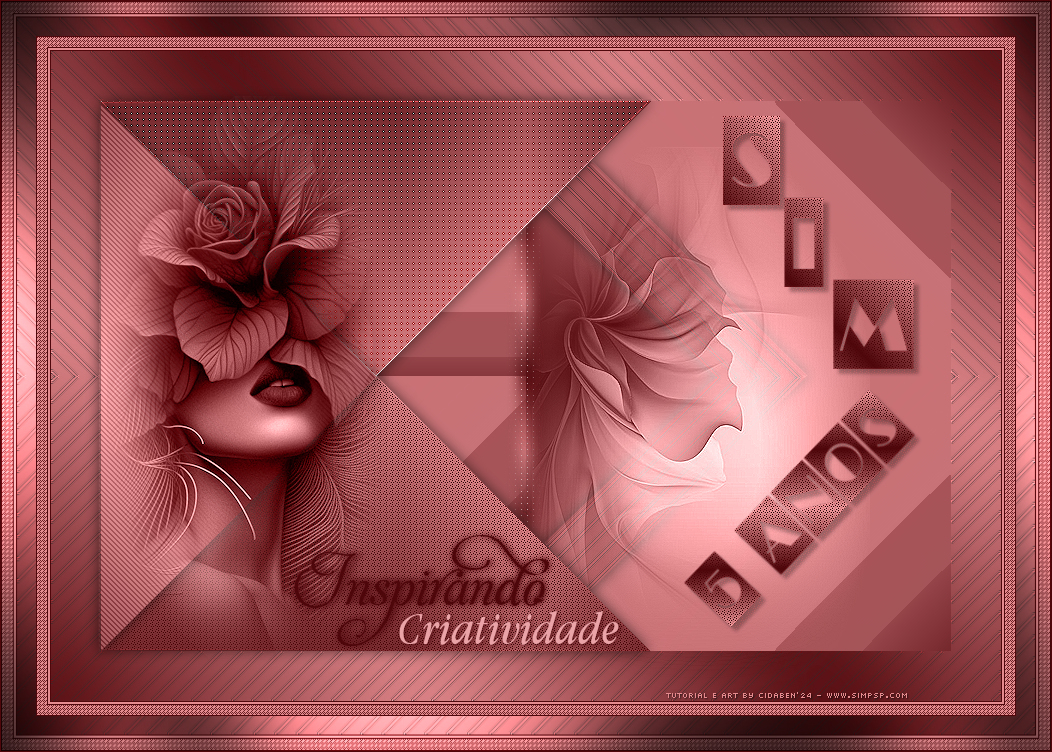
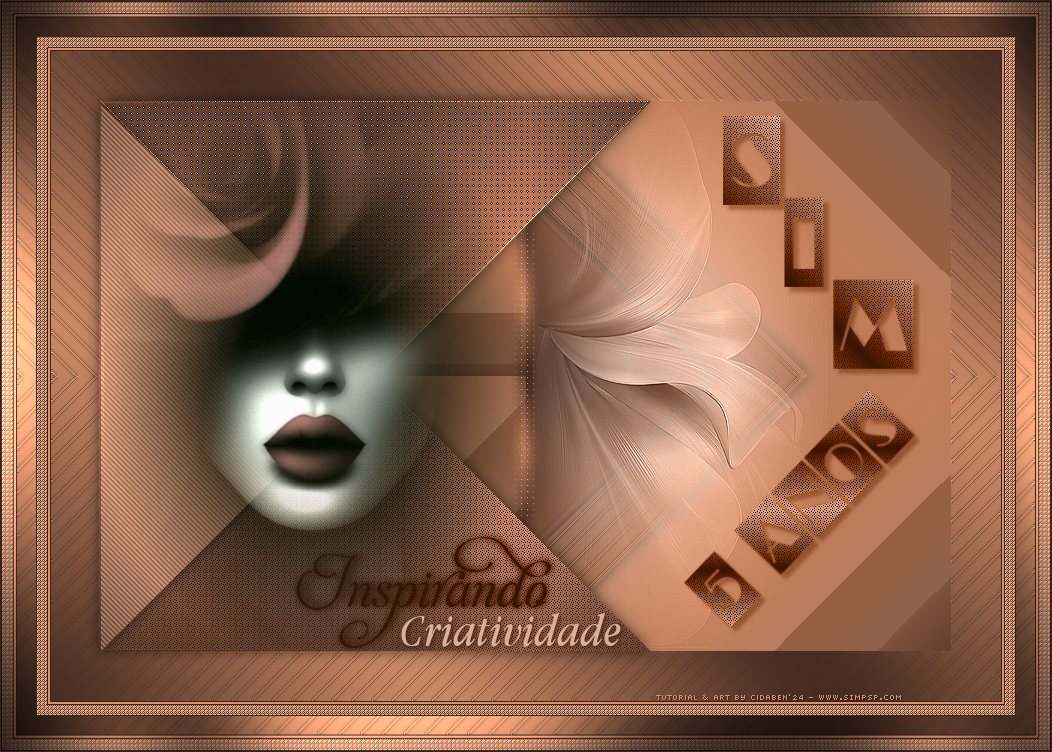
Este Tutorial foi elaborado por
CidaBen, qualquer semelhança é mera coincidência.
MATERIAL: 1 Misted Personagem à sua escolha 1 Misted Paisagem à sua escolha
***Salvar as Seleções na pasta Selections do PSP.
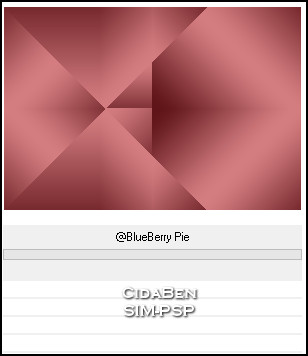
PLUGINS: Filters Unlimited 2.0 > Bkg Designers sf10 IV > @BlueBerryPie. Caroline and Sensibility. Filters Unlimited 2.0 > Toadies > Darwin. Graphics Plus > Cross Shadow.
1 - Abrir o material no PSP, duplique e feche os originais. Fique à vontade para
mudar o Blend Mode de acordo com as cores que estiver usando.
2 - Abra uma
imagem transparente de 950x650px.
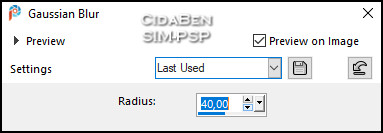
3 - Adjust > Blur > Gaussian Blur: 40.
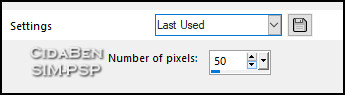
4 - Selections > Select All. Selections > Modify > Contract:
Selections > Invert.
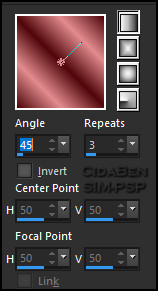
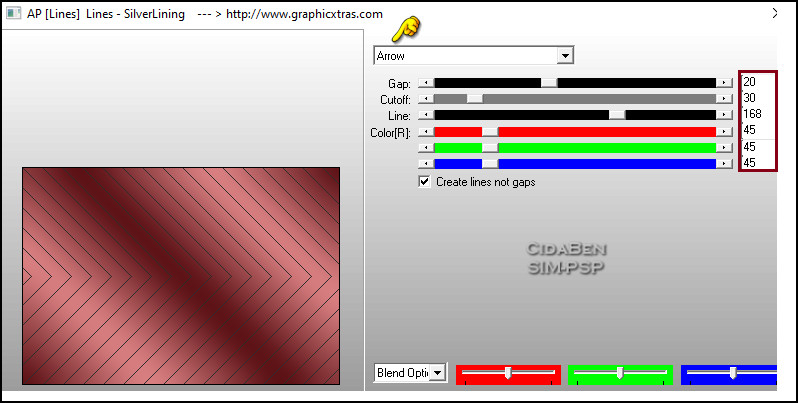
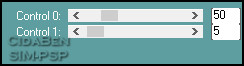
5 - Effects > Plugins > AP [Lines] > Lines - SilverLining:
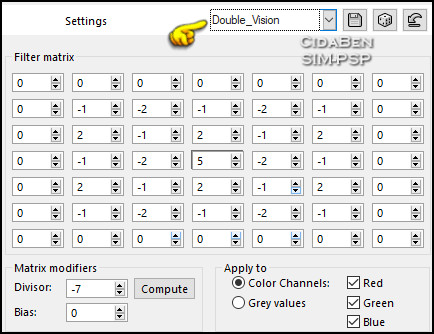
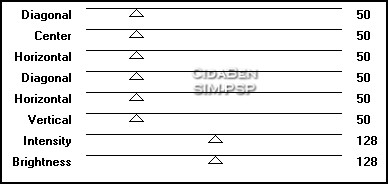
Effects > Used Defined Filter > Double_Vision
6 - Selections > Invert.
7 - Selections >
Promote Selection to Layer.
Selections > Select None.
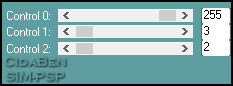
8 - Selections > Load/Save Selections > Load Selection From Disk: Selections_5Anos_CBen1. Selections > Promote Selection to Layer. Effects > Plugins > Caroline and Sensibility > CS-DLines:
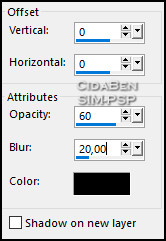
Effects > 3DEffects > Drop Shadow: 0, 0, 60, 20, Color: (#000000) preto.
Selections > Select None.
9 - Ativar a Layer Promoted Selection. Selections > Load/Save Selections > Load Selection From Disk: Selections_5Anos_CBen 2. Selections > Promote Selection to Layer. Effects > Caroline and Sensibility > CS-LDots:
Effects > Edge Effects > Enhance. Effects > 3DEffects > Drop Shadow: 0, 0, 60, 20, Color: (#000000) preto.
Selections > Select None.
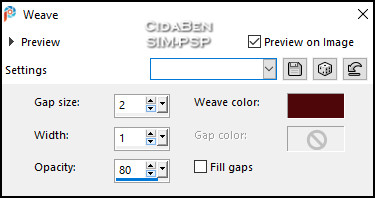
10 - Ativar a Layer Promoted Selection. Selections > Load/Save Selections > Load Selection From Disk: Selections_5Anos_CBen 3. Selections > Promote Selection to Layer. Effects > Texture Effects > Weave > Weave color : Cor escura do Foreground: #4f070b
Adjust > Sharpness > Sharpen. Effects > 3DEffects > Drop Shadow: 0, 0, 60, 20, Color: (#000000) preto.
Selections > Select None.
11 - Ativar a Layer do Topo (Promoted Selection1). Layers > Merge > Merge Down > 2 vezes.
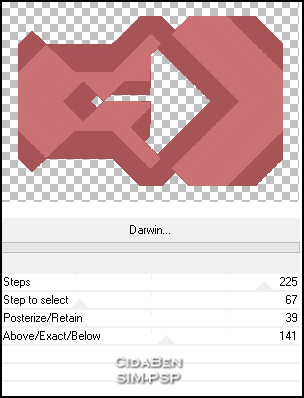
12 - Ativar a Layer Promoted Selection. Effects > Plugins > Filters Unlimited 2.0 > Toadies > Darwin. Nota: Para esse efeito, a cor do Foreground deve estar com a cor escura e o Background com uma cor clara. Na minha versão usei no Foreground a cor: #3a231a e no Background: #d7916b
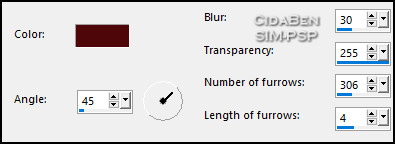
13 - Com a Layer Promoted Selection ativada. Layers > New Raster Layer. Selections > Load/Save Selections > Load Selection From Disk: Selections_5Anos_CBen 4. Pintar com o gradiente em uso. Selections > Select None. Effects > Texture Effects > Fine Leather > Color: Foreground(#4f070b).
Effects > Carolaine and Sensibility > CS-LDots:
14 - Ativar a Layer Promoted Selection. Selections > Load/Save Selections > Load Selection From Disk: Selections_5Anos_CBen 5. Effects > Plugins > AP [Lines] > Lines - SilverLining:
Effects > Used Defined Filter > Double_Vision
Adjust > Sharpness > Sharpen. Effects > 3DEffects > Drop Shadow: 0, 0, 60, 20, Color: (#000000) preto.
Selections > Select None.
15 - Edit > Copy > Título_5anos_CBen. Edit > Paste As New Layer. Pìck Tool > Position X: 633,00 > Position Y: 65,00 Adjust > Sharpness > Sharpen.
16 - Edit > Copy > Misted_5anos_CBen. Edit Paste As New Layer. Image > Resize > 60% > all layers desmarcado. Pìck Tool > Position X: 481,00 > Position Y: 96,00. Layers > Arrange > Move Down. Layers > Properties > General > Blend mode: Luminance(L). Effects > Edge Effects > Enhance.
17 - Ativar a Layer do Topo. (Promoted Selection3) Edit > Copy > Misted_MulherRosa_5anos_CBen. Edit > Paste As New Layer. Pìck Tool > Position X: 56,00 > Position Y: 45,00. Layer > Duplicate. Layers > Merge > Merge Down. Layers > Properties > General > Blend mode: Luminance(L). Adjust > Sharpness > Sharpen.
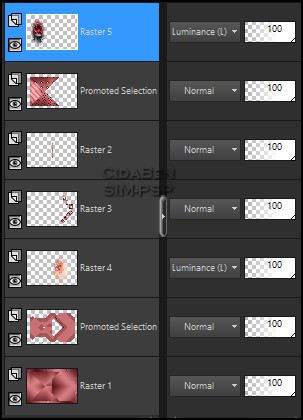
18 - Posição das Layers:
19 - Image > Add
Borders > Symmetric: Image > Add
Borders > Symmetric:
10 px - color: Background #e38b8f
Selections > None.
22 - Image > Add Borders >
Symmetric:
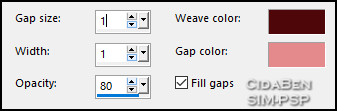
1 px - color: Foreground #4f070b Edit > Copy. Image > Add Borders > Symmetric: 35 px - Com qualquer cor. Selections > Invert. Edit > Paste Into Selection. Effects > Graphics Plus > Cross Shadow > Default.
Selections > Select None.
23 - Edit > Copy > Título2_5anos_CBen. Edit > Paste As New Layer. Pìck Tool > Position X: 286,00 > Position Y: 527,00
24 - Image > Add Borders: 1 px - color: Foreground #4f070b.
25 - Aplicar sua marca d'água ou assinatura.
CRÉDITOS:
Misted Personagem e Misted Paisagem: by
CidaBen
|
|||||
|