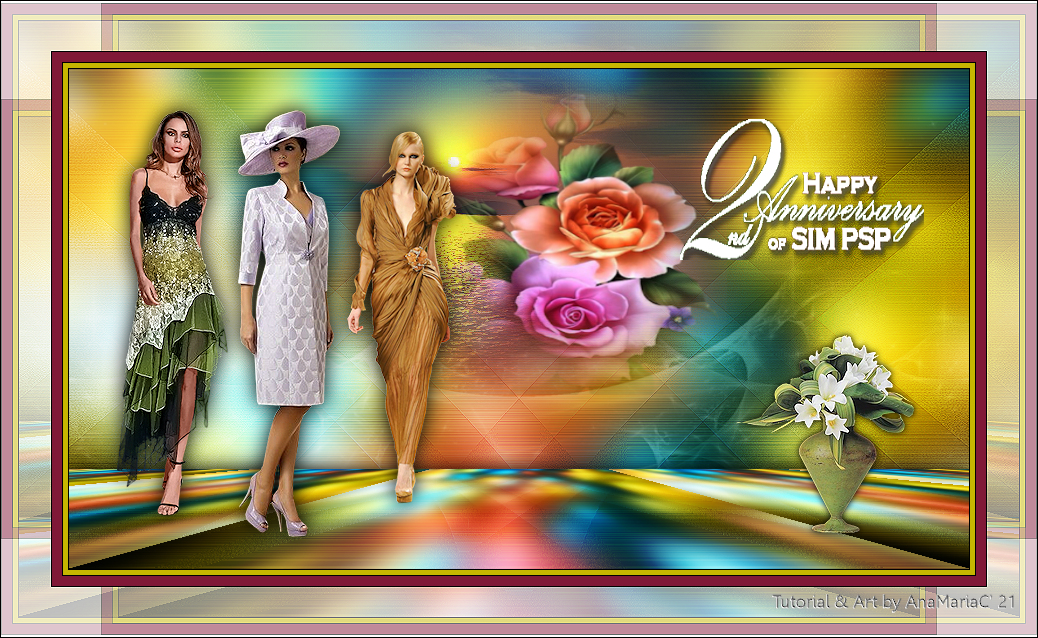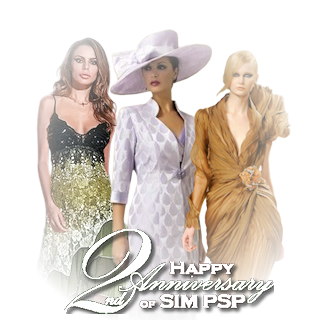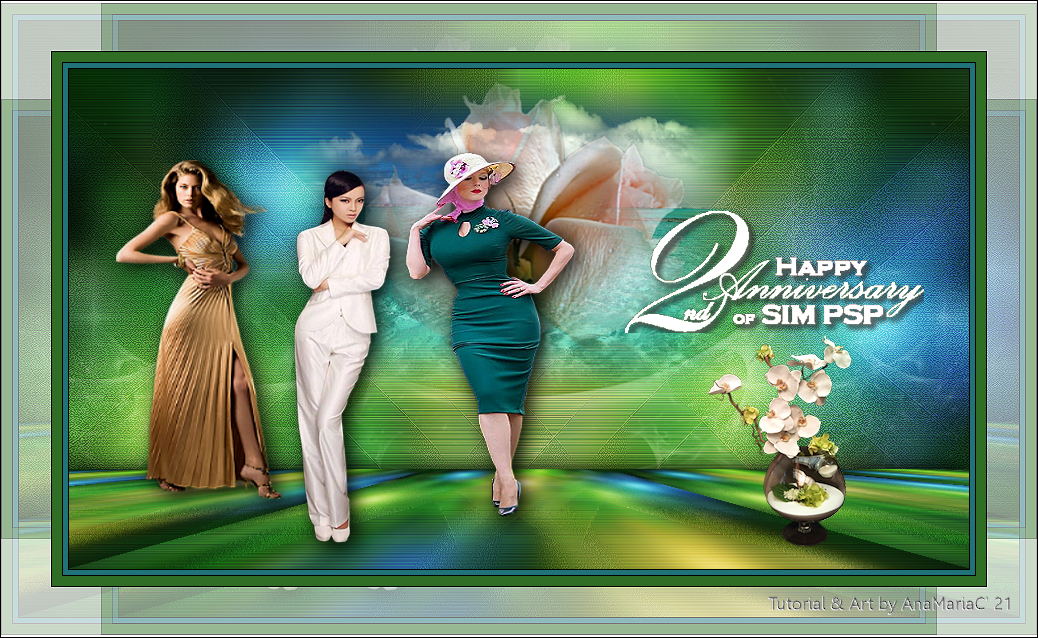
Tutorial criado para o Desafio 06 SimPsp. Este desafio foi proposto por Marcinha com o Tema: Happy Anniversary 2nd of SIM PSP.
TRADUÇÕES: Obrigada aos nossos tradutores!
MATERIAL Tube Principal
Misted
ou Tube
Flor Mask alenza_masque41 WordArt_SIMPSP21
PLUGIN
&
Bkg Designers sf10 IV > @ THE BLAST
& Bkg Designers sf10 IV >
@BlueBerry Pier
It@lian
Editors Effets > Effetto Fantasma MuRa's Meister > Perspective Tiling
Simple >
Top Left Mirror.
TUTORIAL 1-
Abrir
os materiais no PSP. Duplique e feche os
originais. 2-
Escolher 2 cores para trabalhar. Foreground #801837 Background #c6b600 Cores
extras: #FFFFFF #000000 3-
Abrir
uma imagem transparente de 900x500 pixel. Selections >
Selection All. 4-
Edit >
Copy no Image7. Edit >
Past Into Selection.
Selections >
Selection None. 5- Adjust> Blur > Gaussian Blur.
6-
Layers >
Layer duplicate. 7-
Effects > Plugins > Filters Unlimited 2.0 > & Bkg Designers sf10
IV > @ THE BLAST.
8-
Effects > Plugins > Filters Unlimited 2.0 > & Bkg Designers sf10
IV > @BlueBerry Pier.  9- Effects > Plugins > Simple > Top Left Mirror.
10- Layers > Properties > General > Blend Mode: Overlay - Opacity: 50
11- Effects > Plugins > It@lian Editors Effets > Effetto Fantasma.
12- Effects > Edit Effect > Enhance.
13- Effects > Distortion Effects > Pinch.
14-
Adjust > Sarpness > Sharpen.
15-
Layers > Layer > New Raster Layer. 16-
Layers > New Mask Layer > From Image. 
17-
Layers > Propertiers >
General > Blend Mode: Soft Light. Ou
outro que combine com o trabalho.
18-
Edit > Copy no misted paisagem Edit
> Paste As New Layer.
19-
Edit > Copy no misted flor. Edit >
Paste As New Layer. Adjust >
Sharpness > Sharpen More.
20-
Ativar > Pick Tool (Posicion X: 357,00) > (Posicion Y: 5,00)
21- Ativar a Layer Merged Layers > Duplicate.
22-
Effects >
Plugins MuRa's Meister > Perspective Tiling. 
23-
Layers > Arrange > Bring To Top.
24- Effects > 3D Effects > Drop Shadow.
25-
Layers > Merge > Merge Visible.
26-
Edit > Copy no tube principal.
Edit >
Past As New Layer.
Adjust >
Sharpness > Sharpen.
Posicionar a seu critério.
27-
Edit > Copy no tube decor. (Opcional) Edit > Paste As New Layer.
Effects > 3D Drop Shadow como preferir.
Posicione
a seu critério
28-
Edit > Copy no WordArt_SIMPSP21. Edit > Past As New Layer.
Colorizar e aplicar efeito
a seu critério.
Posicionar
como preferir.
29- Image > Add borders > Symmetric
1
pixel > cor: #000000
5 pixels > cor: #c6b600
1
pixel > cor: #000000
10 pixels > cor: #801837
1 pixel > cor: #000000
30-
Selections > Select All.
Image >
Add borders > 50 pixels > cor: #FFFFFF
Selections >
Invert.
31- Effects > Plugins > It@lian Effect Editors > Effeto Fantasma.
32-
Adjust > Sharpness > Sharpen. Selections > Select None.
33- Image >
Add borders > Symmetric: 1 pixel > cor: #000000
34- Se
desejar, redimensione seu trabalho.
Aplicar
sua marca d'água ou assinatura.
File>
Export> JPEG Optimizer.
|


