|
Tutorial dedicated to the anniversary of SimPsp
Almost 200 tutorials presented by me. And countless versions have been made of these tutorials. I thank all visitors to our page, everyone who took some time to make a version of our tutorials. Soxikibem
Tutorial by Soxikibem English Translation by Moderation SIM-PSP Original Tutorial
MATERIAL 1 Main Tube of your choice 1 Decorative Tube of your choice titulo_Sim2UsbySoxikibem decorSim2us_bySoxikibem Seleção: sim2us1 *Save the selection in your Psp's Selections folder.
PLUGINS Italian Editors Effect Mehdi Two Moon
TUTORIAL 01- Open the material on the PSP, duplicate and close the original. Choose two colors to work with. Foreground: #49342f Background: #c3e55b Extra Color: White (#FFFFFF)
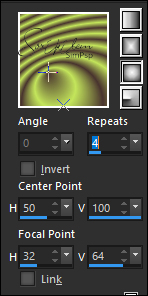
02 - Open a new transparent image of 900x450px. Paint with a Sunburst gradient formed from the foreground and background colors.
03 - Effects > Plugins Mehdi > Weaver.
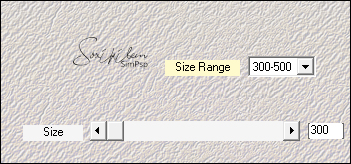
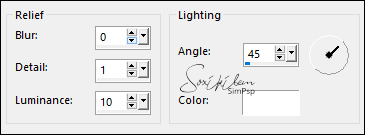
04 - Effects > Texture Effects > Sandstone.
Effects > Edge Effects > Enhance.
05 - Layer > New Raster Layer. Paint with the gradient in use.
06 - Layers > Duplicate. Image > Mirror > Mirror Horizontal. Image > Mirror > Mirror Vertical. Layers > Properties > General > Opacity: 50%. Layers > Merge > Merge Down.
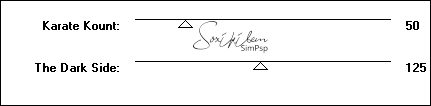
07 - Effects > Plugins Two Moon > VerticalChopBlur.
08 - Effects > Texture Effects > Blinds; Color: background.
09 - Selections > Load/Save Selections > Load Selection From Disk: sim2us1. Selections > Invert. Edit > Cut. Selections > Select None.
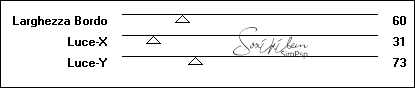
10 - Effects > Plugins Italian Editors Effect > Bordo con Luci.
11 - Layers > Duplicate. Effects > Image Effects > Seamless Tiling.
12 - Activate Layer Raster 2. Layers > Properties > General > Blend Mode: Dodge.
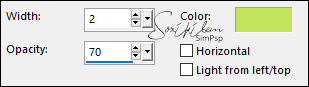
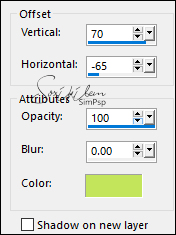
13 - Activate Layer Copy of Raster 2. Layers > Properties > General > Blend Mode: Difference, Opacity 70%. Effects > 3D Effects > Drop Shadow, color: background.
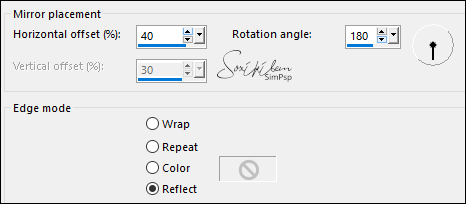
14 - Effects > Reflection Effects > Rotating Mirror.
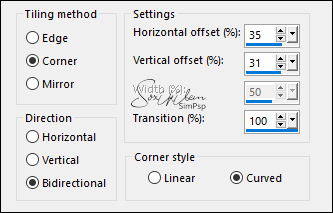
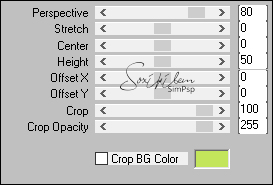
15 - Layers > Duplicate. Effects > Plugins Mura's Meister > Perspective Tiling.
Layers > Properties > General > Blend Mode: Screen, Opacity: 50%.
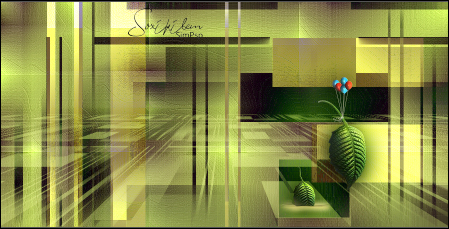
16 - Edit > Copy the Decorative Tube. Edit > Paste as New Layer. Position as in the print below:
Layers > Duplicate. Activate the original layer of the decorative tube. (Raster 3). Adjust > Blur > Gaussian Blur: 20. Layers > Properties > General > Blend Mode: Multiply.
17 - Activate Layer Copy of Raster 3. Edit > Copy the Main Tube. Edit > Paste as New Layer. Position to the left. Layers > Duplicate. Activate the original tube layer (Raster 4) Adjust > Blur > Gaussian Blur: 40. Layers > Properties > General > Blend Mode: Multiply. Activate Layer Copy of Raster 4.
18 - Edit > Copy the titulo_Sim2UsbySoxikibem. Edit > Paste as New Layer. With the Pick Tool tool, position: Position X 425, Position Y 37. Layers > Properties > General > Blend Mode: Soft Light.
19 - Edit > Copy no decorSim2us_bySoxikibem. Edit > Paste as New Layer. With the Pick Tool tool, position: Position X 23, Position Y 62.
20 - Image > Add Borders > Symmetric: 1px color foreground 2px color background 1px color foreground 10px color White (#FFFFFF) 2px color background 40px color White (#FFFFFF) 1px color foreground
21 - If you wish, resize your work
Apply your watermark or signature.
CREDITS: Tutorial by Soxikibem English Translation by Moderation SIM-PSP Main Tube: Tubed by Nikita Decorative Tube: by Nicole Decor & WordArt: by Soxikibem
Feel free to send your versions. I will be happy to publish them on our website.
|